How do I turn iPhone or iPad screenshots into a step-by-step guide?
Turn iPhone or iPad screenshots into a step-by-step guide. Put them in order, write one clear instruction per step, cover private details and export a PDF.

Walkthru team
To combine screenshots into one PDF for free, save them to Files, select them and choose Create PDF. To make a step-by-step guide, put the screenshots in task order and give each one a short instruction and a visible result. Walkthru does this on iPhone or iPad: it makes one step per screenshot in the order you pick them, and you add instructions, tap markers and redactions before exporting a PDF, images or Markdown.
In this article
Build a guide from screenshots you already have
Choose one task
Name the task the reader will finish, such as starting a return. Keep the starting screen, each decision and the confirmation screen. Leave out the rest.
Import the pictures in order
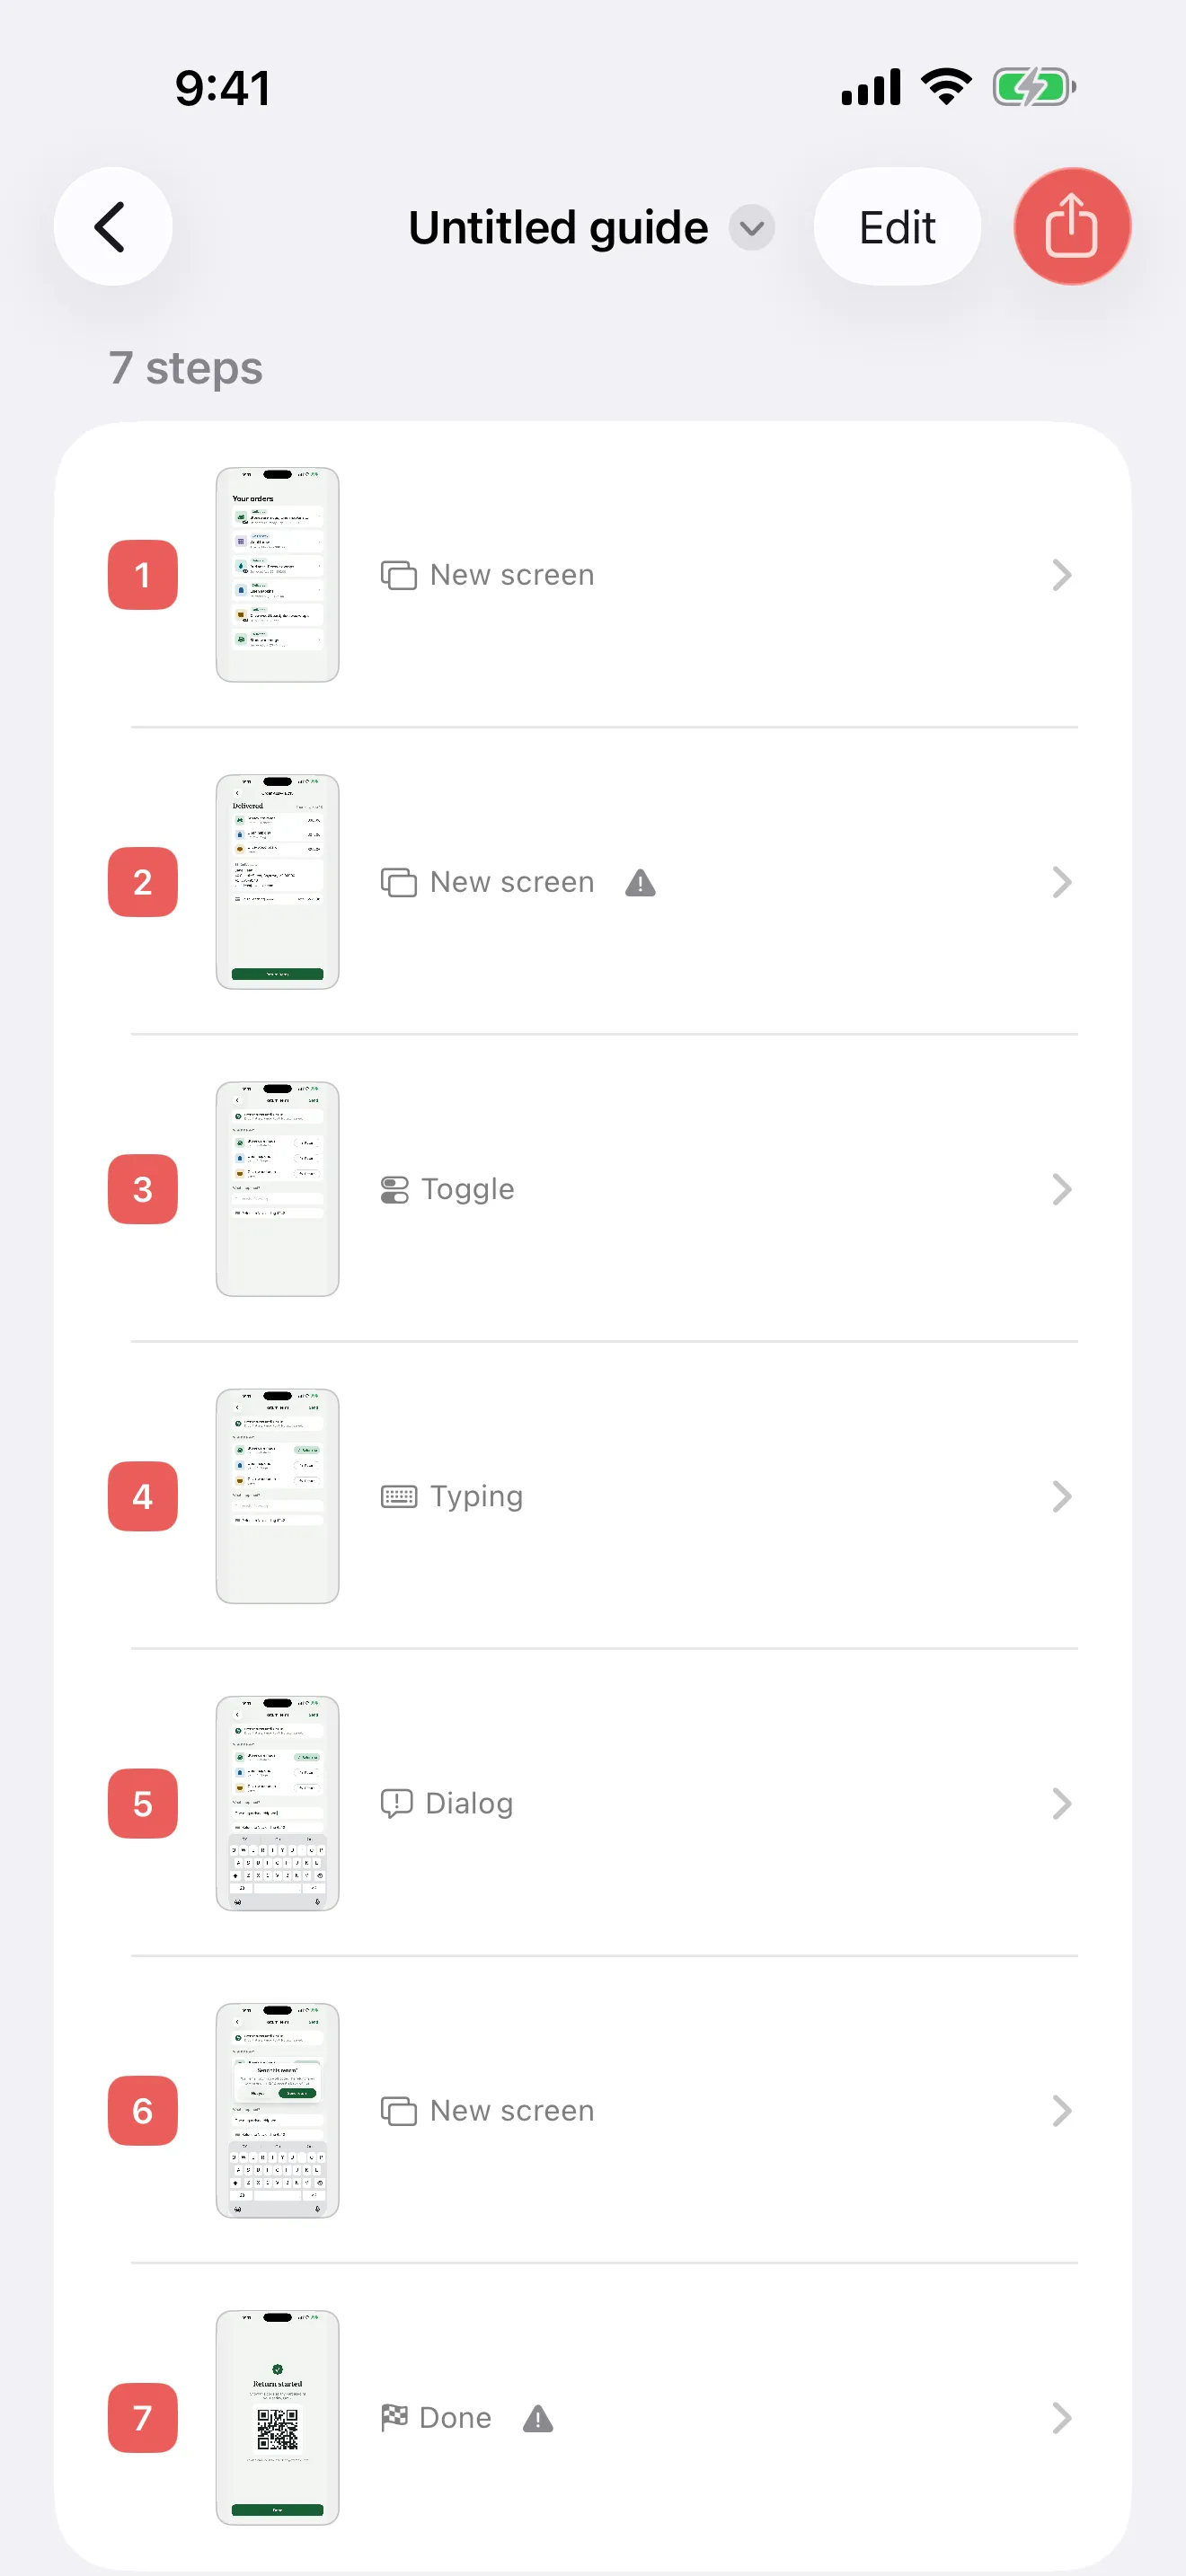
In Walkthru, choose Import screenshots and tap the pictures in task order, up to 60 at a time. Each picture becomes one step, numbered in the order you tapped. Check the order in the editor.
Write the instructions
Give each step a short title that uses the control's on-screen name, such as 'Tap Return items'. Add what should happen next if the reader needs it.
Mark the control and cover private details
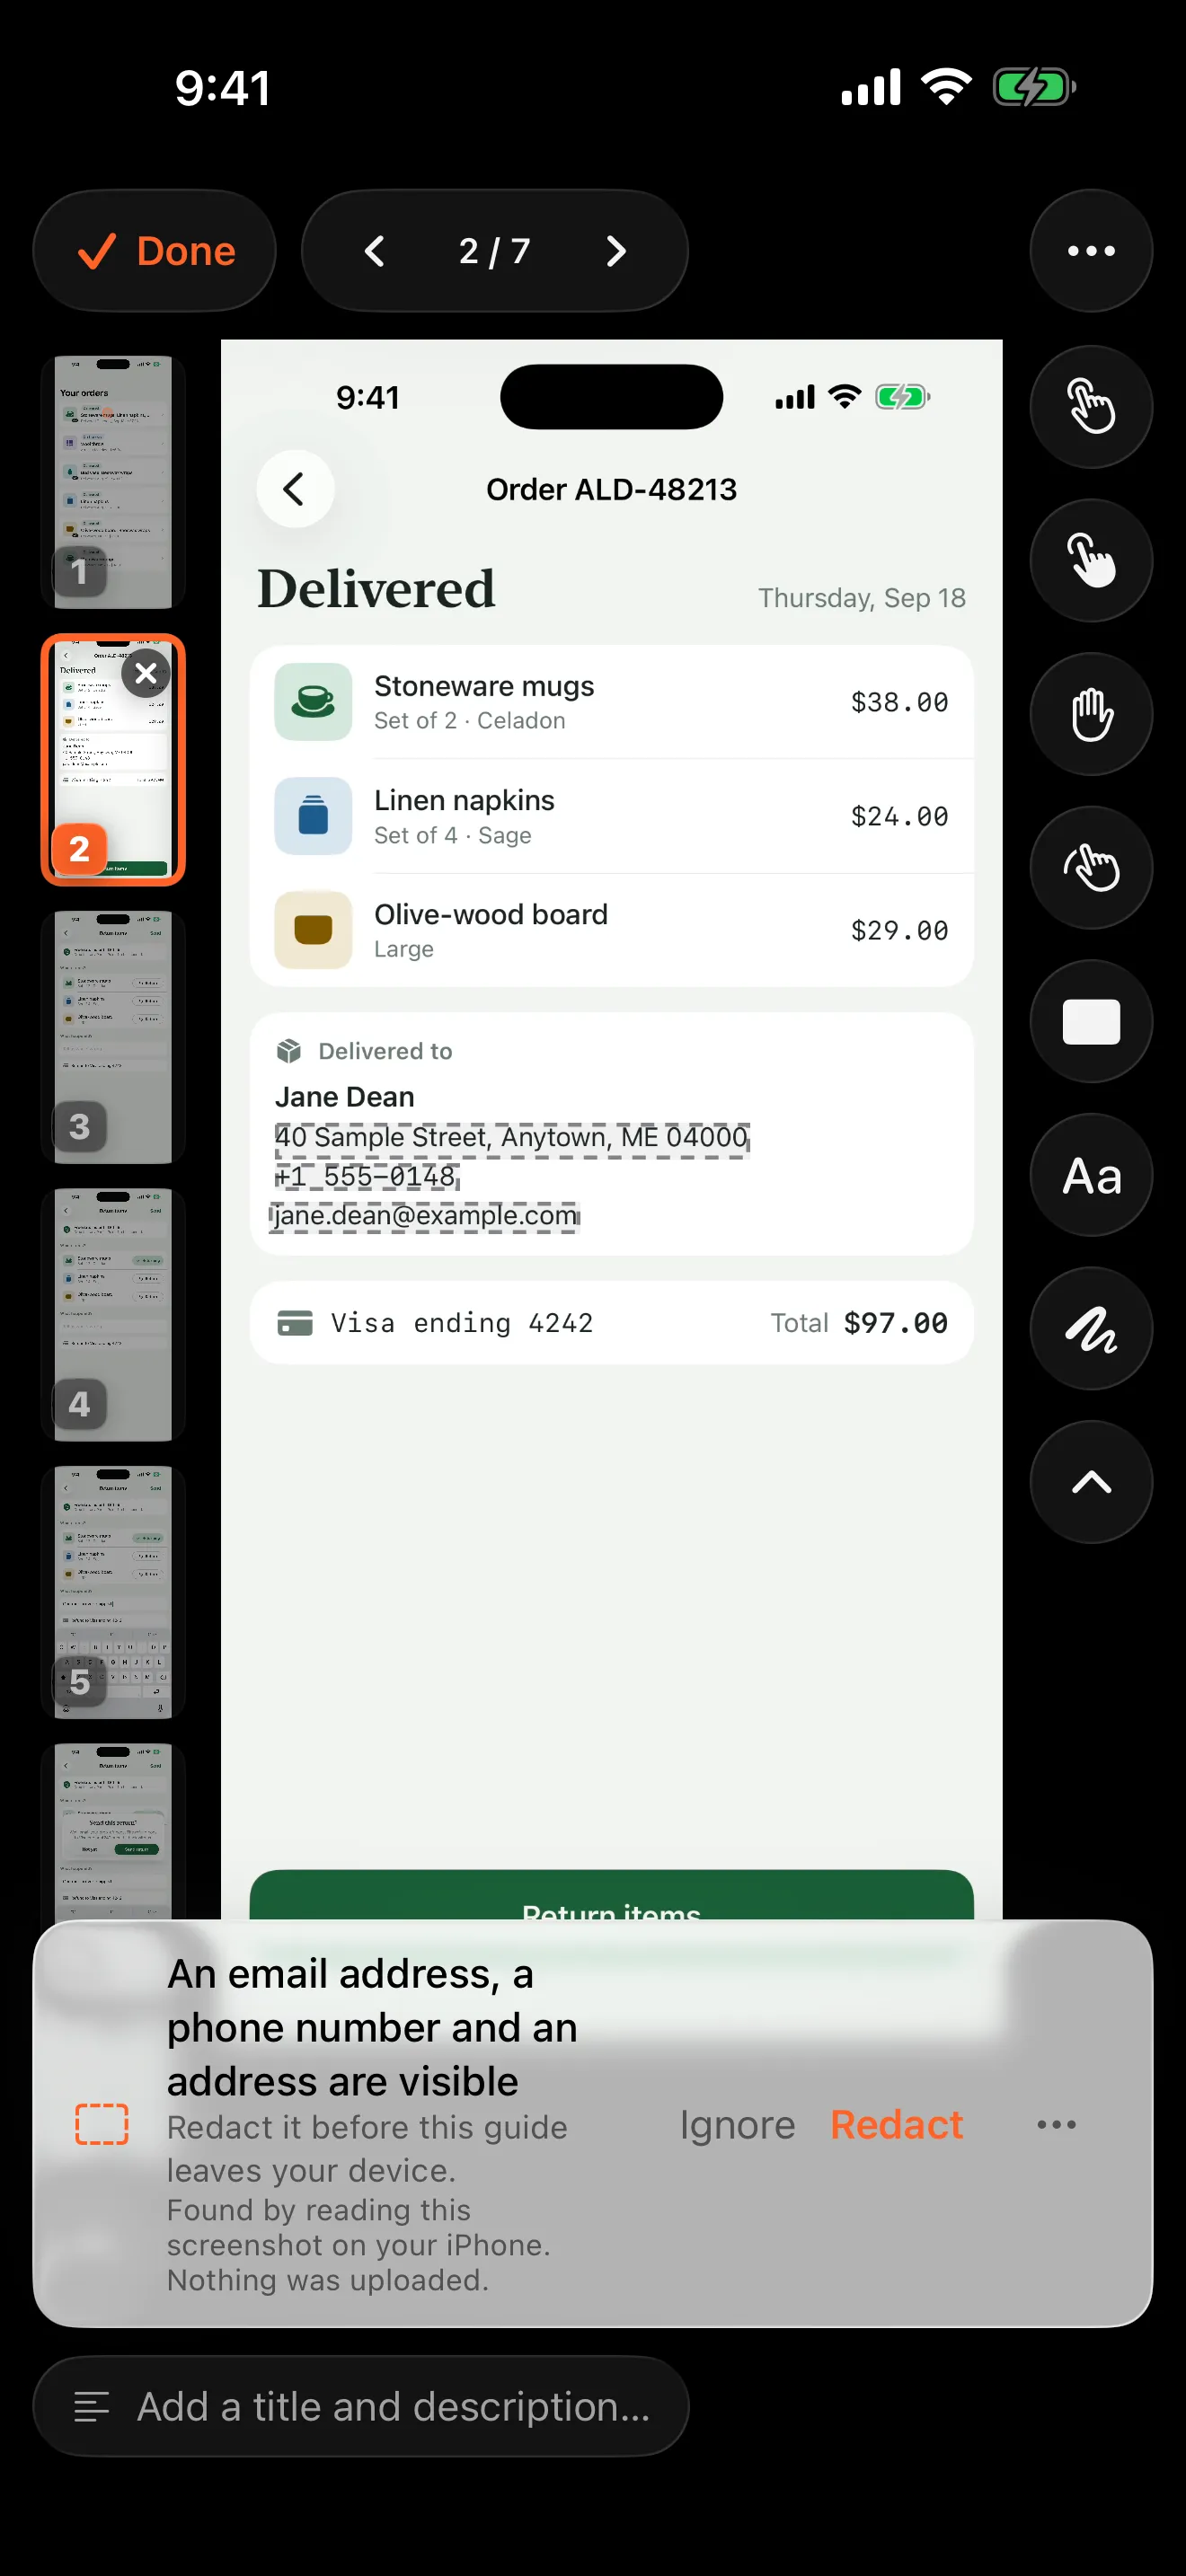
Place a marker on the control to tap. On a step with redaction offers, tap Redact to accept them or Ignore to dismiss them, then cover anything else with the Redact tool.
Export and test it
Choose PDF guide for a document, Step images for a chat reply or Markdown bundle for a docs site. Then try the task using only the export.
A PDF of pictures, or a guide?
A PDF of pictures is fine for keeping receipts or sending a set of screenshots. You can make one for free on iPhone or iPad: save the pictures to Files, select them and choose Create PDF.
A guide has a different job. It helps someone do a task for the first time, so every next action has to be written down, not guessed from the difference between two pictures.
Try this test. Hide the pictures and read the instructions: does the sequence make sense? Then hide the instructions and look at the pictures: can you find each control and see the result? A good guide passes both.
Pick screenshots that show the decisions
Keep the screen before an action when you need to point at a control. Keep the screen after it when the result matters. Only the picture before a form is filled in shows where each field is.
For a return request, you might keep the order details, the item picker, the reason field, the confirmation card and the success screen. Skip the five near-identical pictures of the keyboard while one sentence is typed.
Use screenshots from the same app version and the same account role. A customer screen mixed with an administrator screen describes a task nobody can follow. If a screen is missing, capture it or ask for it rather than filling the gap with a guess.
Example: a return request
From the site’s Alder demo shop. Use the exact labels from your own app.
| Picture | Weak caption | Useful instruction |
|---|---|---|
| Order details | Order screen | Tap Return items to open the return form. |
| Item selection | Pick item | Tap Return beside the item you are sending back. Check it’s the right one. |
| Reason field | Enter information | Tap Tell us what’s wrong and describe the problem. |
| Note written | Send | Tap Send when the note describes the problem. |
| Confirmation card | Confirm | Check the refund details on the Send this return? card, then tap Send return. |
| Success screen | Done | Check that Return started appears. That means the request went through. |
Keep the last picture. It shows readers the action worked, so they don’t repeat it. Put any check before the button that commits.
Make the exported page readable
Walkthru offers three PDF layouts. Start with one step per page when small controls must stay readable. Try compact for a shorter printed handout, and check the smallest text at the size the reader will see it. Choose checklist for people who already know the screens and just need to track the sequence.
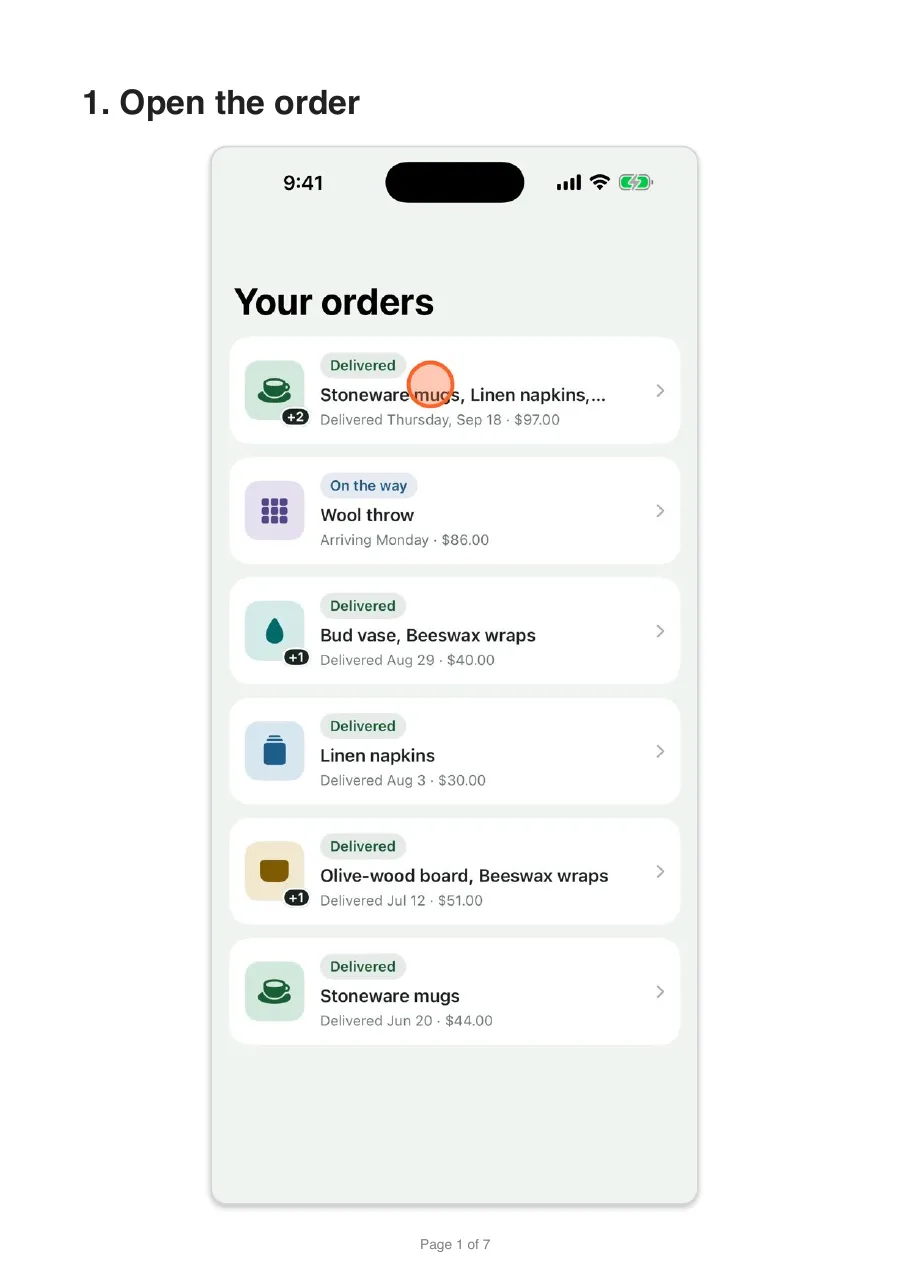
A real page from the demo guide’s PDF export. Judge readability on the export, where the reader will see it.
Crop loosely enough to keep the screen’s title and the controls around the target. Place the tap marker beside or over the button without hiding its label. If a picture needs a paragraph of explanation, put that in the step’s caption.
On iPad
Walkthru works the same way on iPad. iPad screenshots import at full resolution and keep their shape on the PDF page. You can place markers with Apple Pencil, and the bigger screen makes it easier to check each picture at full size before you export.
Send it as a support reply
If you answer the same “how do I…?” question every week, send a short guide instead of typing the steps again. Pair it with a reply that still answers the customer:
You can [do the task] from [starting screen]. Follow the steps in [the attached guide]. You are finished when you see [visible result].
If you don’t see [control], check [one likely cause]. If it still looks different, reply with the step number and the words on your screen. Please leave out passwords and sign-in codes.
The success check heads off a “did it work?” follow-up. The last line asks for the one detail that moves the conversation forward.
Match the export to the channel:
| Channel | Send | Check before sending |
|---|---|---|
| Chat or a short email | Two or three Step images plus the actions written out | The chat app hasn’t shrunk the pictures until the labels blur |
| A longer task the customer will keep | PDF guide | It opens, and the smallest text is readable |
| A help-centre article | Markdown bundle, or the step images with your own text | Images load and headings are in order in the published preview |
Build the guide from a clean sample account rather than a customer’s screenshots. A customer’s pictures carry their details. Covering an email address can still leave a name in a header or a reference number in a notification.
Fixing a guide that readers get stuck on
| Problem | What to change |
|---|---|
| The reader can’t find the first screen | Say where to start and what access they need, before step one. |
| Two pictures seem to skip an action | Add the missing screen or spell out the action in between. |
| The pictures look alike but show different permissions | Capture them again with the reader’s account role. |
| The exported text is too small | Use a larger PDF layout, or crop carefully so the screen is still recognizable. |
| A private detail appears in several places | Check every picture. Copying a redaction box doesn’t find the same text elsewhere. |
Open the exported file before you share it. Accepted redactions are drawn into the export, while the editable guide keeps the original pictures. The screenshot redaction checklist covers what to check beyond the automatic offers.
Walkthru assembles the steps and flags private details. The instructions, the markers and the final check of every picture stay with you.
Keep the editable guide. When the app moves a button, follow the update checklist to fix the picture, the instruction and the shared copy together. For the whole process, from recording to export, see how to make a step-by-step guide on iPhone or iPad. For a printed guide for a family member, see the cheat sheet for an older parent.
Related questions
Can I make a guide without a screen recording?
Yes. Walkthru makes one step from each screenshot you pick, and you add the instructions, markers and redactions. It still reads each picture for private details and offers to cover them.
Is combining screenshots into a PDF enough?
For a record or an archive, yes, and Files can do it for free with Create PDF. A how-to guide also needs the action to take, anything the reader needs first and a visible sign of success. Write those next to the pictures.
Will Walkthru write the instructions for me?
No. It turns the screenshots into numbered steps and offers to cover private details it finds. You write each step's instruction and place the markers.
What if I have more than 60 screenshots?
The picker takes up to 60 at a time, and Add Screenshots in the editor adds more to the same guide. First check whether the pictures cover more than one task. Two short guides are easier to follow than one long one.
Does this work on iPad?
Yes. Walkthru works the same way on iPad. iPad screenshots import at full resolution and keep their shape in the PDF, and you can place markers with Apple Pencil.
A little more to explore
Keep reading
PDF & exports
Turn a screen recording into a PDF guide on iPhone
Turn an iPhone or iPad screen recording into a numbered PDF guide with one screenshot per step. The free manual route, the faster way, and what to check.
Privacy
How to properly redact a screenshot on iPhone
Cover private details with a solid shape and share a flattened copy. The free Markup method on iPhone and iPad, why blur fails, and what to check.
Getting started
Update screenshots in an iPhone app guide
Keep an iPhone app guide accurate after an app update. Decide what to replace, recheck markers and redactions, and swap out the copies people use.