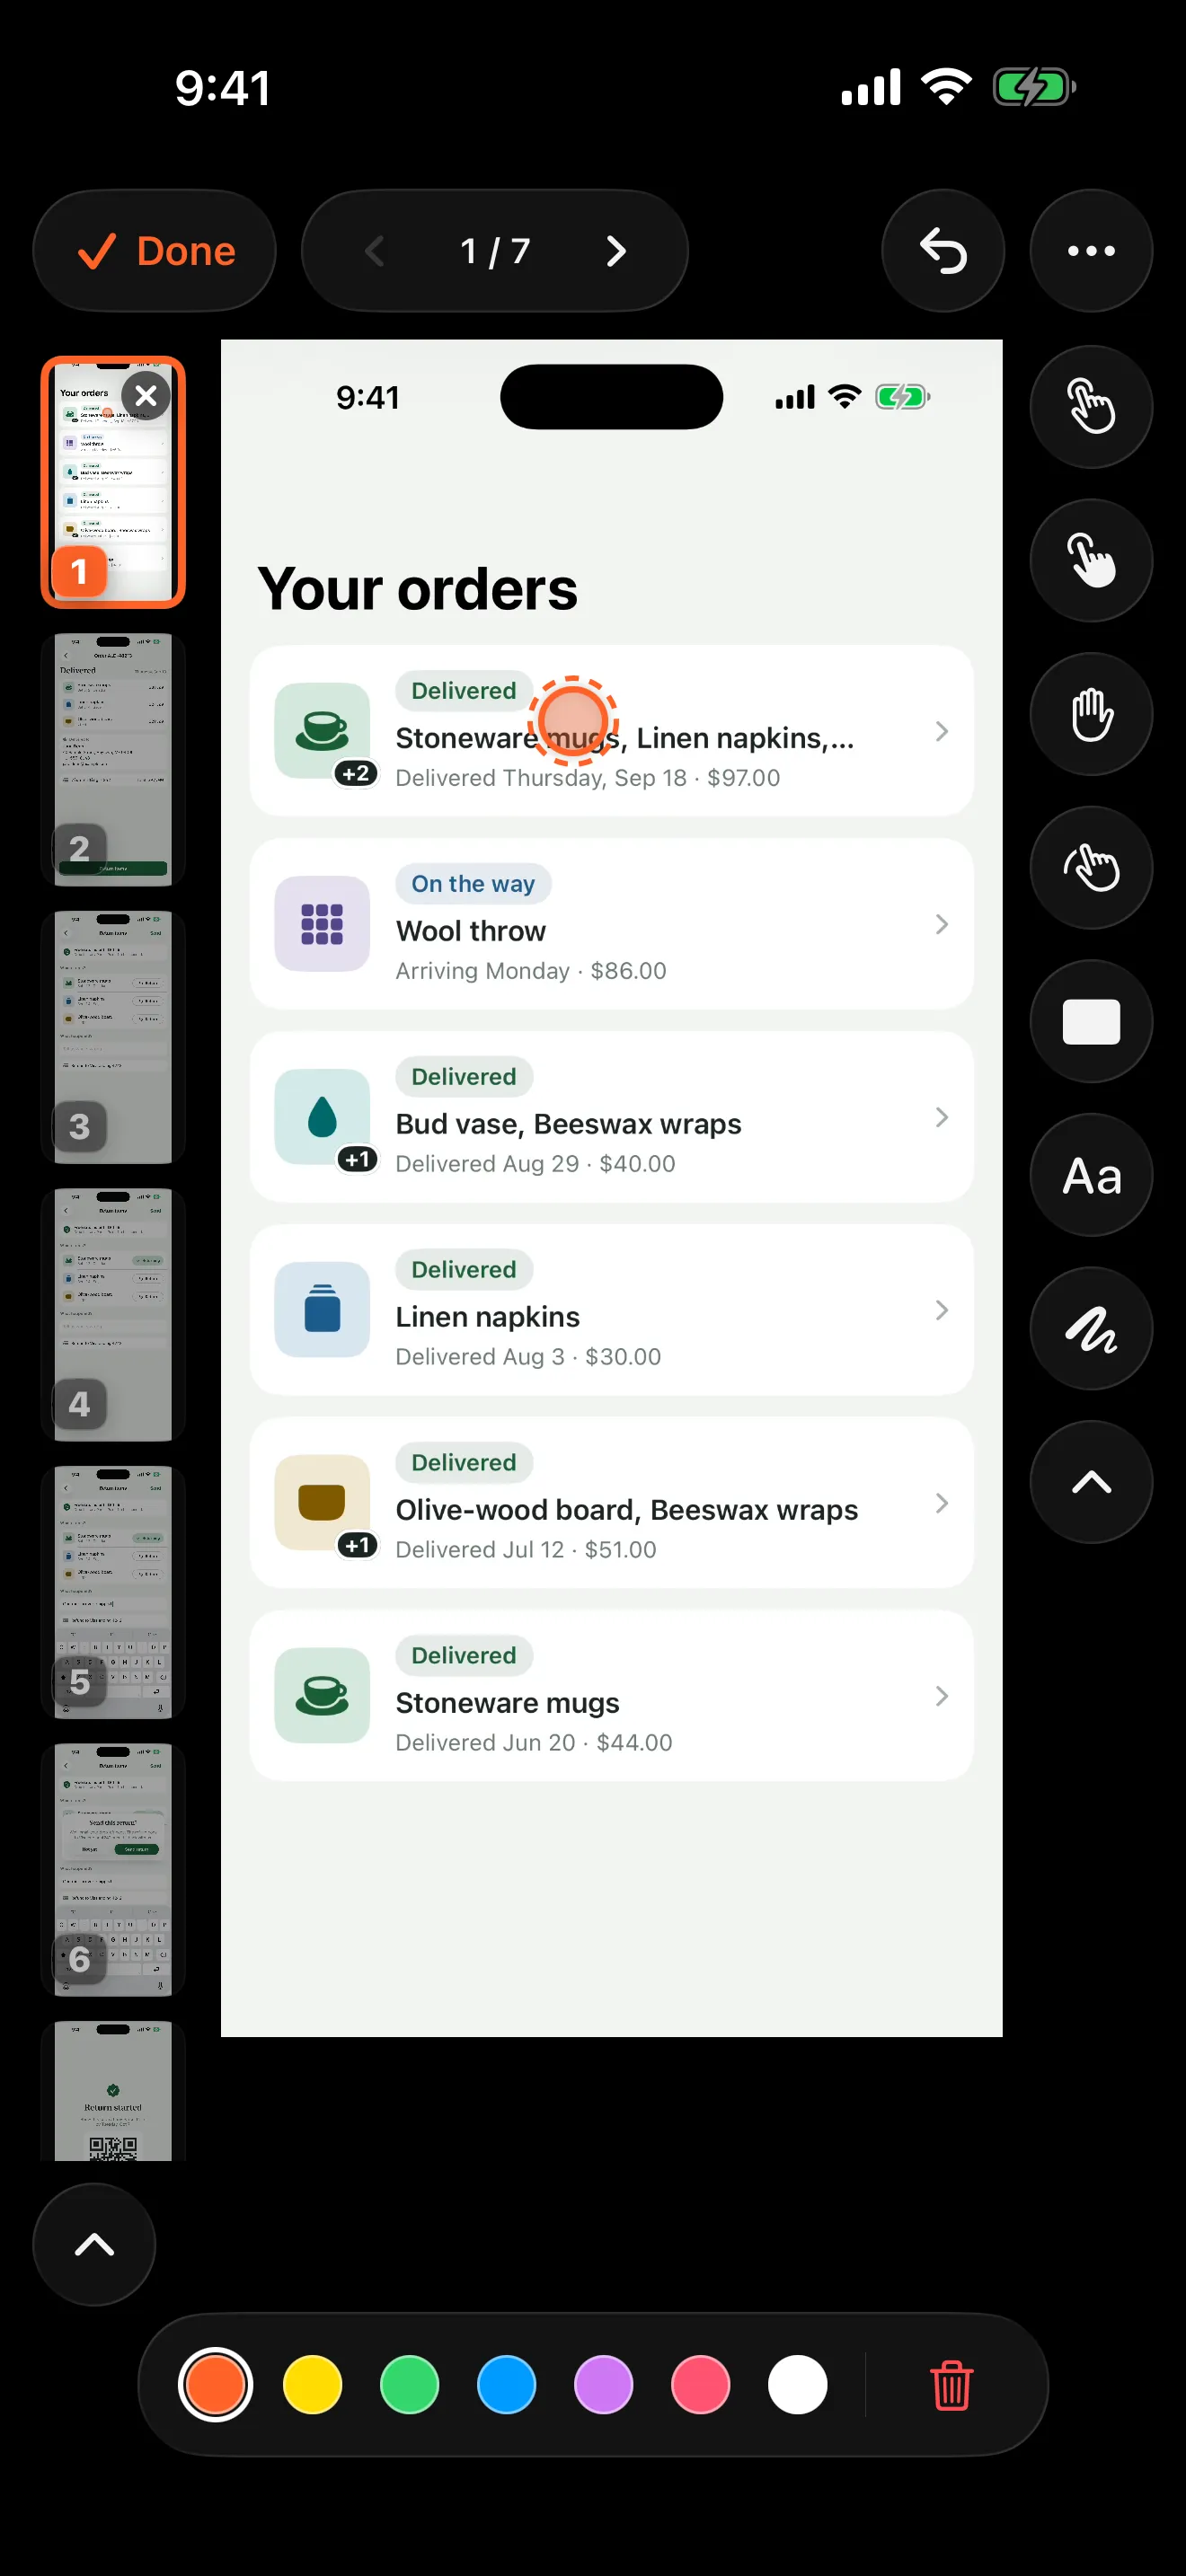
How do I make a step-by-step guide on iPhone or iPad?
Record a task once, or use screenshots you already have, and turn it into a step-by-step guide with tap markers, redactions and a PDF, on iPhone or iPad.

Walkthru team
Record the task once with the built-in screen recorder, or collect screenshots in order. Turn each screen into a numbered step with one short instruction, a marker on the control to tap and any private details covered, then export it as a PDF, images, Markdown or a video. Walkthru does this on the iPhone or iPad: it cuts a recording into steps wherever the screen changes, and you write the instructions.
In this article
Make a step-by-step guide on iPhone or iPad
Prepare a clear example
Choose one task with a clear start and finish. Use sample data where you can, and turn on Do Not Disturb so no notification appears mid-recording.
Record the task once, slowly
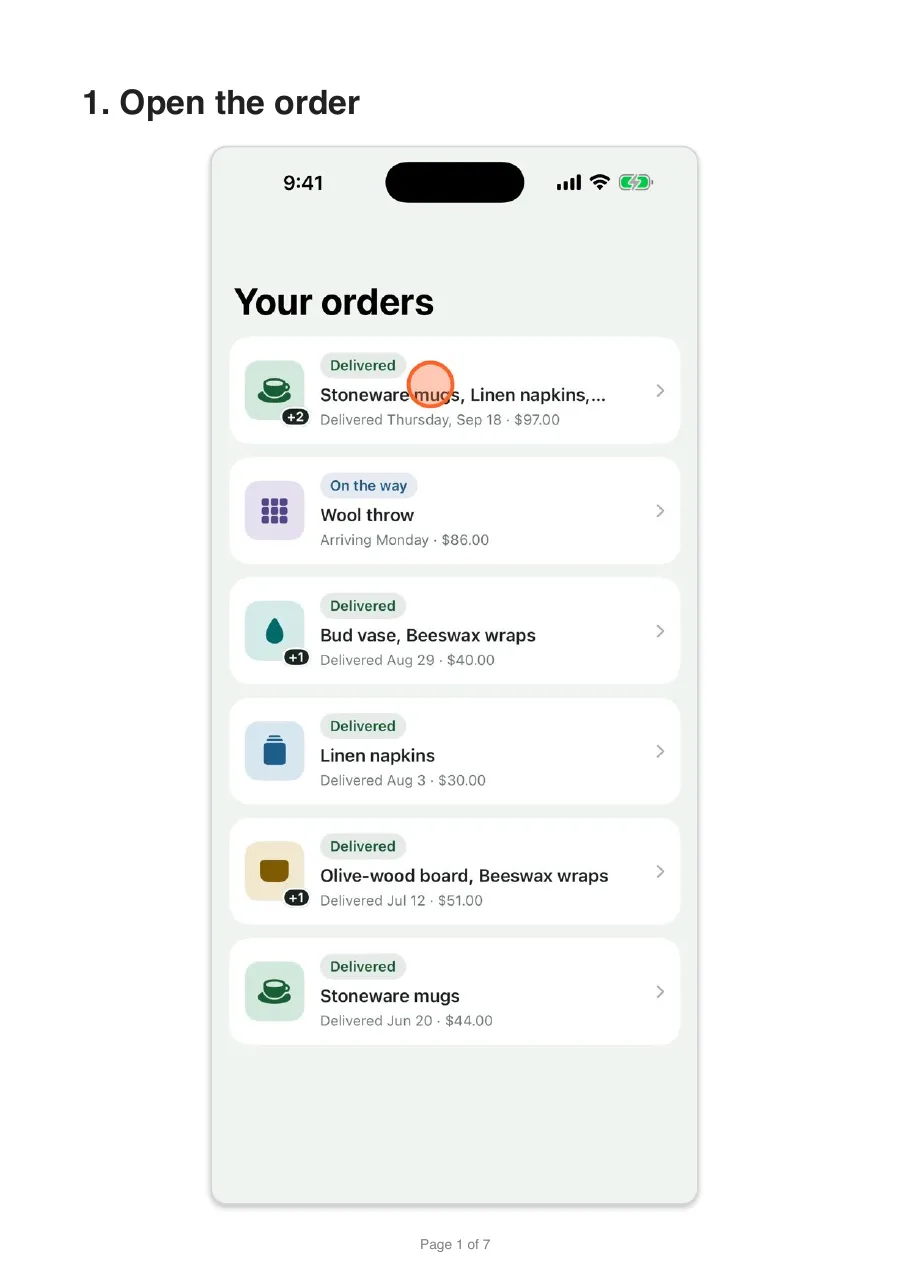
Start a screen recording from Control Center, or with Walkthru's Record this device option, and do the task at a steady pace. Pause about a second on each screen after it settles.
Let the recording become steps
Import the recording into Walkthru. It cuts the recording wherever the screen changed and settled, and gives each step a screenshot. Delete any step you do not need.
Write one instruction per step
Write the action the reader takes, using the words on the screen: 'Tap Transfer', not 'The Transfer screen appears'.
Mark where to tap
Place a tap, double-tap, press-and-hold or swipe marker on the control. 'Tap the button in the corner' makes the reader search; a marker does not.
Cover anything private
Accept the redactions Walkthru offers for emails, phone numbers, card numbers and similar details, then cover anything else with the Redact tool. Use a solid cover, never a blur.
Export to where the guide lives
Export a PDF guide for a folder or a printout, Step images for a chat or help centre, a Markdown bundle for a docs site, or a video reel.
Start from a recording or from screenshots
There are two ways in, and you pick one when you import.
| Start from | Use it when | What happens | Read more |
|---|---|---|---|
| A screen recording | You can do the task yourself | Walkthru finds the steps for you | Recording to a PDF guide |
| Screenshots | You only have pictures, such as a customer’s screenshots or design mockups | Each picture becomes one step, in the order you pick them | Screenshots to a guide |
Record when you can. A recording catches every screen, including the ones you would have forgotten to screenshot, and it lets the video export use real footage. After import, the two routes meet: you can add screenshots to a guide that started as a recording, and replace any step’s picture from Photos.
Why a phone is different from a desktop
Desktop tools such as Scribe and Tango watch your clicks. A browser extension sees each click, takes a screenshot at that moment and reads the label of the button you clicked, so it can write a first draft of every step.
On an iPhone or iPad, no app can see another app’s touches. So Walkthru works from what the recording shows. The screen changing from one settled state to another is a step, and that can be measured from the pixels. Each step also gets a label for the kind of change: a new screen, a scroll, typing, a dialog, a toggle.
What it cannot measure is what you meant. So steps arrive without instructions, and markers are placed by you. That is deliberate: an instruction that is almost right is harder to catch than a blank one.
Turn each screen into a step
For each step in the editor:
- Write the instruction. See the tips below.
- Place a marker on the control the reader has to touch. There are tap, double-tap, press-and-hold and swipe markers, in seven colours. See showing taps in a screen recording.
- Cover private details. Walkthru reads each screenshot on the device and offers to cover email addresses, phone numbers, card numbers and other details it finds. See redacting a screenshot properly.
- Crop to the part of the screen that matters. The original stays in the guide.
- Add a heading or a tip where the reader needs context that is not an action.
What to write in each instruction
- Use the imperative. “Tap Transfer.” Not “The user should tap Transfer”, and not “The Transfer screen appears”. The reader wants an instruction, not a narration.
- Name the control the way the screen does. If the button says Send now, write Send now, capitalised the same way.
- One action per step. If an instruction contains “and then”, it is two steps.
- Say what confirms success when the result is not obvious. “The balance updates” tells the reader they are on track.
Choose the output
| Export | Best for | Read more |
|---|---|---|
| PDF guide | A file to keep, print or attach, in three layouts | Recording to a PDF guide |
| Step images | A chat reply or a help-centre article; full-resolution PNGs | Screenshots from a recording |
| Markdown bundle | A docs site or a repository | Mobile SOP template |
| Video reel | Showing movement, with optional voiceover | Adding a voiceover |
Not sure whether you need a document or a video? See screenshot guide or video tutorial.
Everything above happens on the device. Walkthru has no account and no server, so the recording, which holds whatever was on your screen, is never uploaded.
On iPad
Walkthru is the same app on iPad, with room to work. The editor shows the steps, the picture and the tools side by side. You can mark steps with Apple Pencil, drag a recording onto the library to import it, and use keyboard shortcuts: Command-I to import a recording, Command-Shift-I for screenshots, Command-Shift-R to record and Command-E to export.
Record an iPad task the same way, from Control Center. iPad screenshots keep their shape in the PDF. In a video, every step takes the shape of the first one, so a guide that mixes upright and sideways screens shows the odd ones with black bars.
Doing it by hand
For a short task you do once, the manual route is fine:
- Take a screenshot of each screen: side button plus volume up, or side button plus Home button on models with a Home button.
- Paste them in order into a document.
- Crop each one, write the instruction, and draw a circle on the control with Markup.
- Cover anything private with a solid shape, not a blur.
It gets slow as the steps add up, and slower when the app changes and you redo it.
Where to go next
- Writing a procedure for a team: the mobile SOP template.
- Making a printed guide for a family member: the cheat sheet for an older parent.
- The app changed after you published: updating a guide.
- Comparing tools: Scribe and Tango alternatives on iPhone.
Related questions
Can I make a step-by-step guide without a computer?
Yes. The iPhone and iPad record their own screens, and Walkthru turns the recording into steps on the device. There is no computer, account or upload involved.
Why do my screenshots come out blurry or mid-animation?
The frame was captured while the screen was still moving. Pause for a moment on each screen when you record. Walkthru picks each step's picture from the middle of the time the screen stayed still, which avoids halfway frames.
Can I make a guide from screenshots instead of a recording?
Yes. Walkthru makes one step from each screenshot, in the order you pick them, and everything after that works the same: instructions, markers, redactions and every export.
Does Walkthru write the instructions for me?
No. It finds where the steps are, because that can be measured from the recording. It does not guess what each step means, because a plausible but wrong instruction takes longer to spot and fix than an empty one takes to write.
Does it work on iPad?
Yes. Walkthru is a universal app for iPhone and iPad. On iPad you can mark steps with Apple Pencil, drag a recording onto the library to import it, and use keyboard shortcuts such as Command-I to import and Command-E to export.
A little more to explore
Keep reading
PDF & exports
Turn a screen recording into a PDF guide on iPhone
Turn an iPhone or iPad screen recording into a numbered PDF guide with one screenshot per step. The free manual route, the faster way, and what to check.
PDF & exports
Turn iPhone screenshots into a step-by-step guide
Turn iPhone or iPad screenshots into a step-by-step guide. Put them in order, write one clear instruction per step, cover private details and export a PDF.
Getting started
How to show taps in an iPhone screen recording
iPhone screen recordings hide your taps. Add tap markers afterwards in Walkthru, or try an AssistiveTouch custom gesture while you record.