How do I make a POS training manual for staff on an iPad?
Turn your iPad POS into a staff training guide. Record each till task once, mark the buttons, cover customer details and print one step per page.

Walkthru team
Record each till task once on the iPad itself, such as a refund or a split bill, and turn every recording into a short guide: one screenshot per step, a marker on the button to tap and one instruction. Print them one step per page and keep them at the counter. Walkthru does the splitting, markers, redaction and PDF on the iPad; you write the instructions.
In this article
Make a POS training guide on iPad
List the tasks that trip new staff up
Ask your team which tasks they call a manager for: refunds, voids, split bills, discounts, clocking in. Make one short guide per task.
Record each task on the till
Turn on Do Not Disturb, open Control Center and start a screen recording. Do the task slowly with a test item, pausing on each screen, then stop the recording. Skip or cover any staff passcode entry.
Turn the recording into steps
Import the recording into Walkthru on the same iPad. It cuts the recording into one screenshot per screen. Delete the steps nobody needs.
Mark each button and write one instruction
Place a tap marker on the button, with your finger or Apple Pencil, and write the instruction as the step's title using the words on the button.
Cover customer details, print and test
Accept the redactions Walkthru offers and cover any other customer detail. Export a PDF guide with one step per page, print it, and watch a new hire follow it once without help.
Why a guide made from your own till works
Most POS training material is a blank template or the vendor’s own help pages. Neither shows your menu, your buttons or your discounts. A manager in a Square Community thread asking for a cashier training manual, viewed more than 9,000 times, put it simply: “there needs to be screenshots for everything in your manual… it’s difficult to do training as a result.”
And people forget. When a gym member asked on Reddit whether staff are trained on the till at all, one reply was: “Yes. Does any human forget how to do something when they aren’t repeating it? Also yes.” (r/PlanetFitnessMembers)
A guide made from screenshots of your own iPad till answers both problems. It shows exactly what your staff will see, and it is there for the task they do once a month.
This works with any POS app that runs on an iPad, such as Square, Shopify POS, Lightspeed or TouchBistro.
Pick the tasks that cause the most calls to a manager
Do not document the whole POS. Start with the tasks people get stuck on:
| Task | Why it trips people up | Finished when |
|---|---|---|
| Refund a sale | Done rarely, often with a customer waiting | The refund receipt appears |
| Void an item | Easy to confuse with a refund | The item is gone from the ticket |
| Split a bill | Several ways to do it | Each guest has their own total |
| Apply a discount | Different discounts, different rules | The discounted total shows |
| Take cash and give change | The drawer and the screen must agree | The sale closes and the drawer opens |
| Clock in and out | New staff do it before anything else | Their shift shows as started |
Ask your team which tasks they call you over for. That list beats any template.
Record each task on the till
The iPad records its own screen (Apple’s instructions):
- Turn on Do Not Disturb, so a message does not appear mid-recording.
- Swipe down from the top-right corner to open Control Center, and tap the Screen Recording button.
- Do the task slowly, with a test item. Pause for a second on each new screen.
- Stop the recording from the red button at the top of the screen.
Record in a practice setup, not during a real sale. Use your POS provider’s training or test mode if it has one; if not, ask your provider how to practise safely. When the task needs a staff passcode, stop before typing it or cover it later. A recording shows every digit you tap.
Test first. Apple notes that some apps do not allow their content to be recorded. If your recording comes out black, take a screenshot of each screen instead: press the top button and a volume button together, or the top button and the Home button on an iPad with a Home button.
Turn each recording into a guide
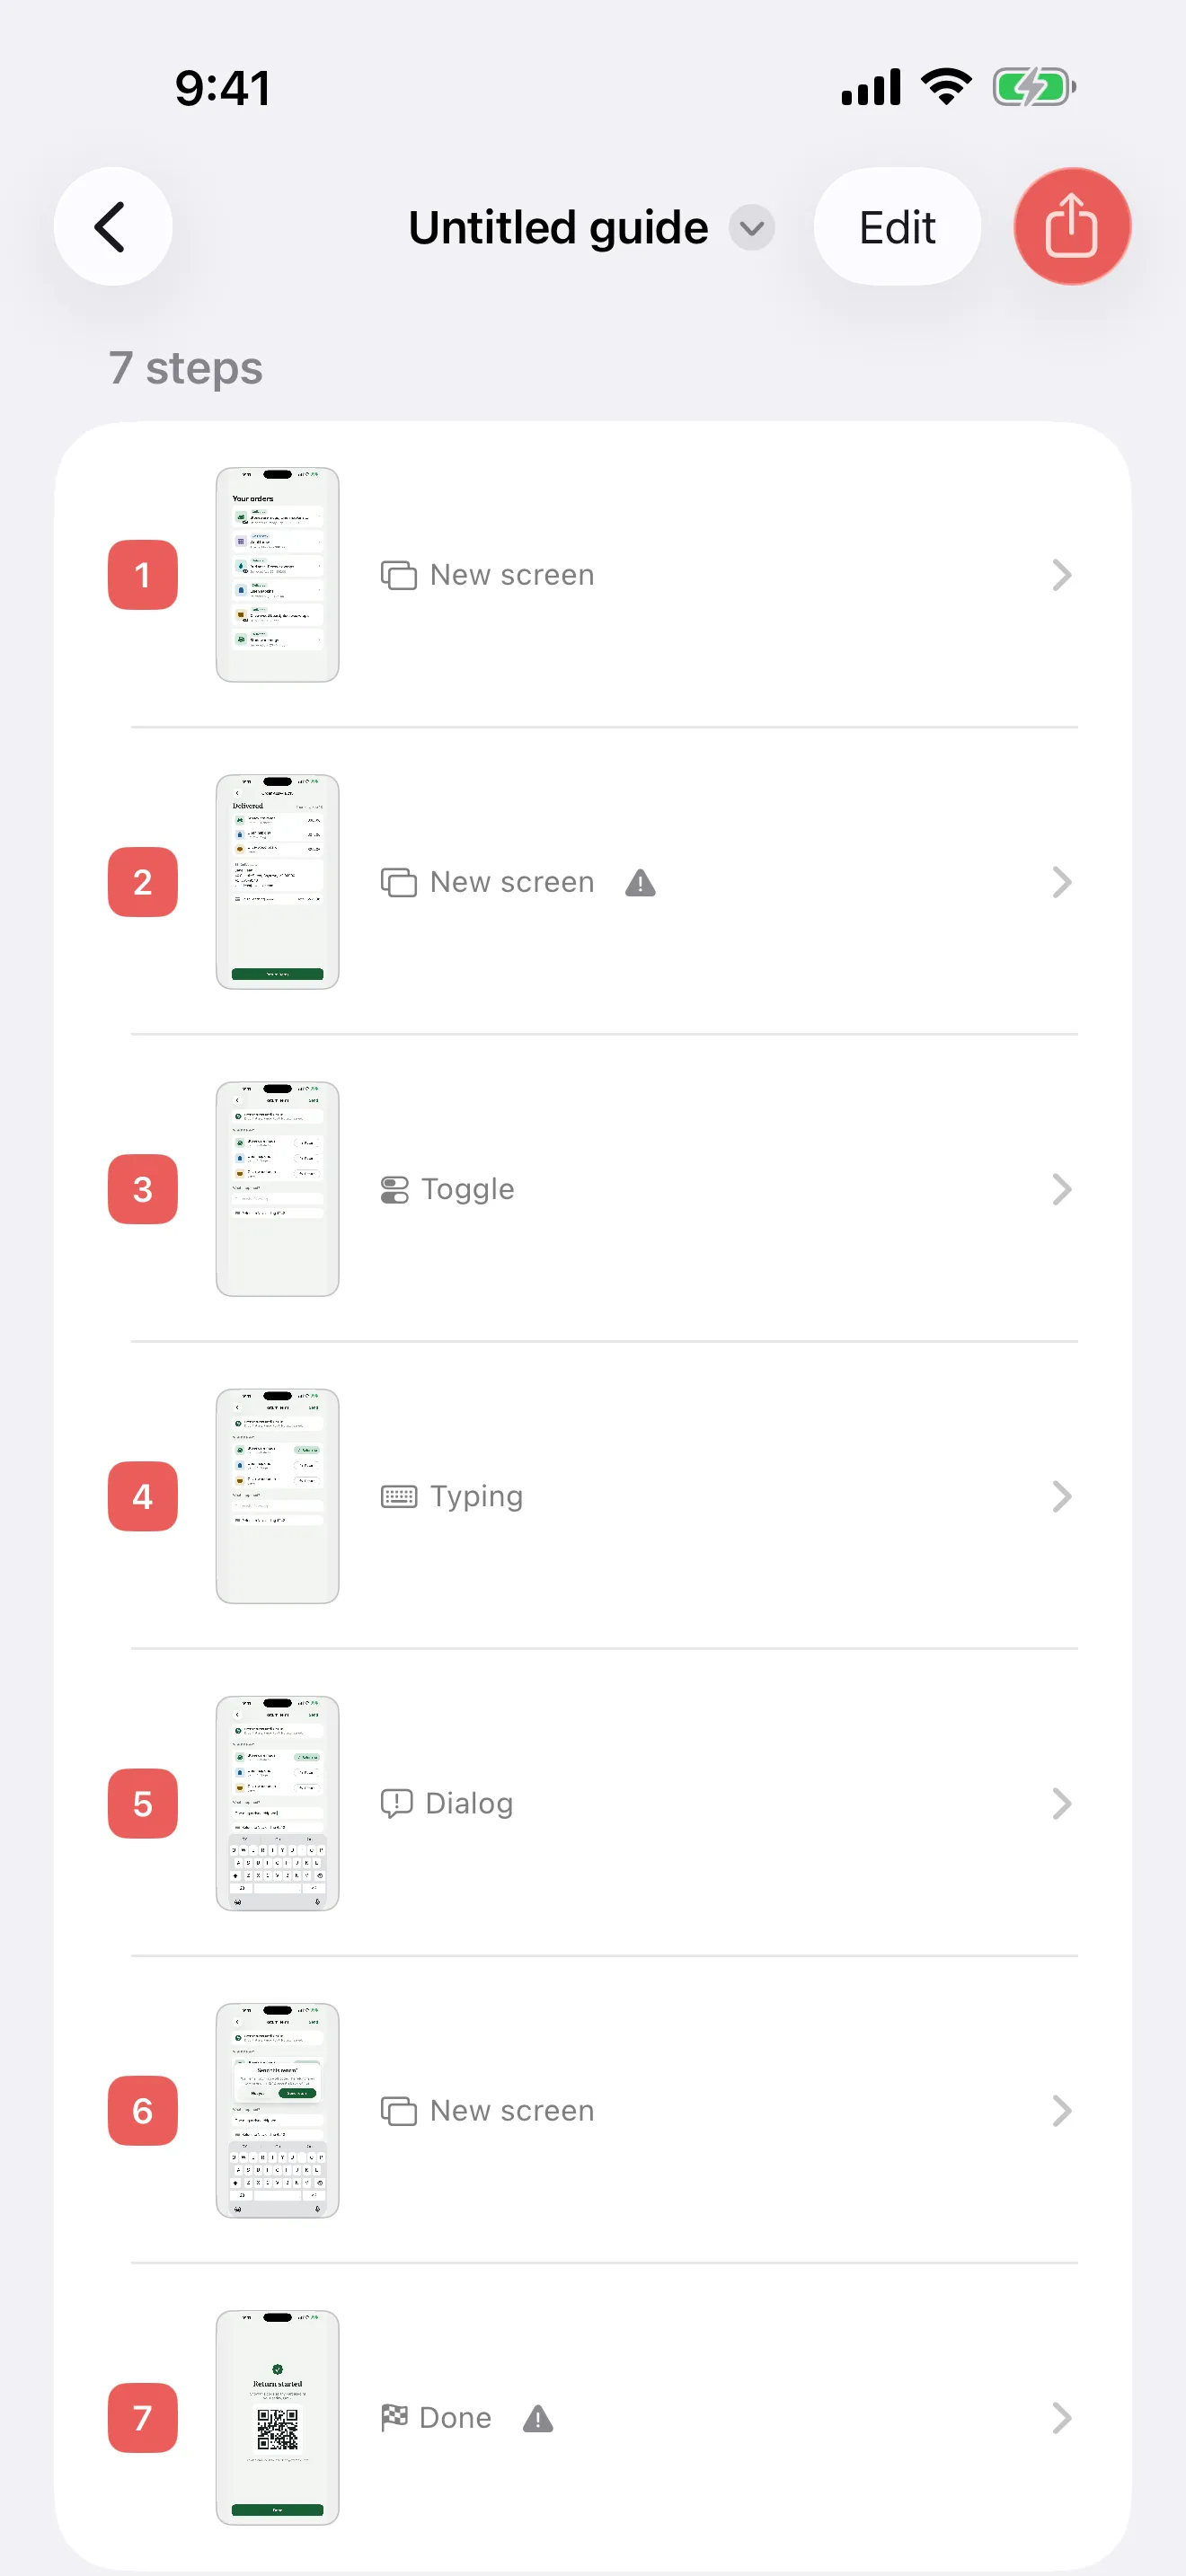
Import the recording into Walkthru on the same iPad. It cuts the recording into one screenshot per screen. Then, for each step:
- Delete what nobody needs, such as a loading screen.
- Mark the button. Tap, press-and-hold and swipe markers show the kind of touch. On iPad you can place them with Apple Pencil.
- Write one instruction as the step’s title. Use the words on the button: “Tap Refund”, not “Go to the refund area”.
- Add a label on the picture for a warning that belongs on the screen, such as “Manager only”.
- Add a tip for a rule that is not on the screen, such as “Refunds over $50 need a manager”.
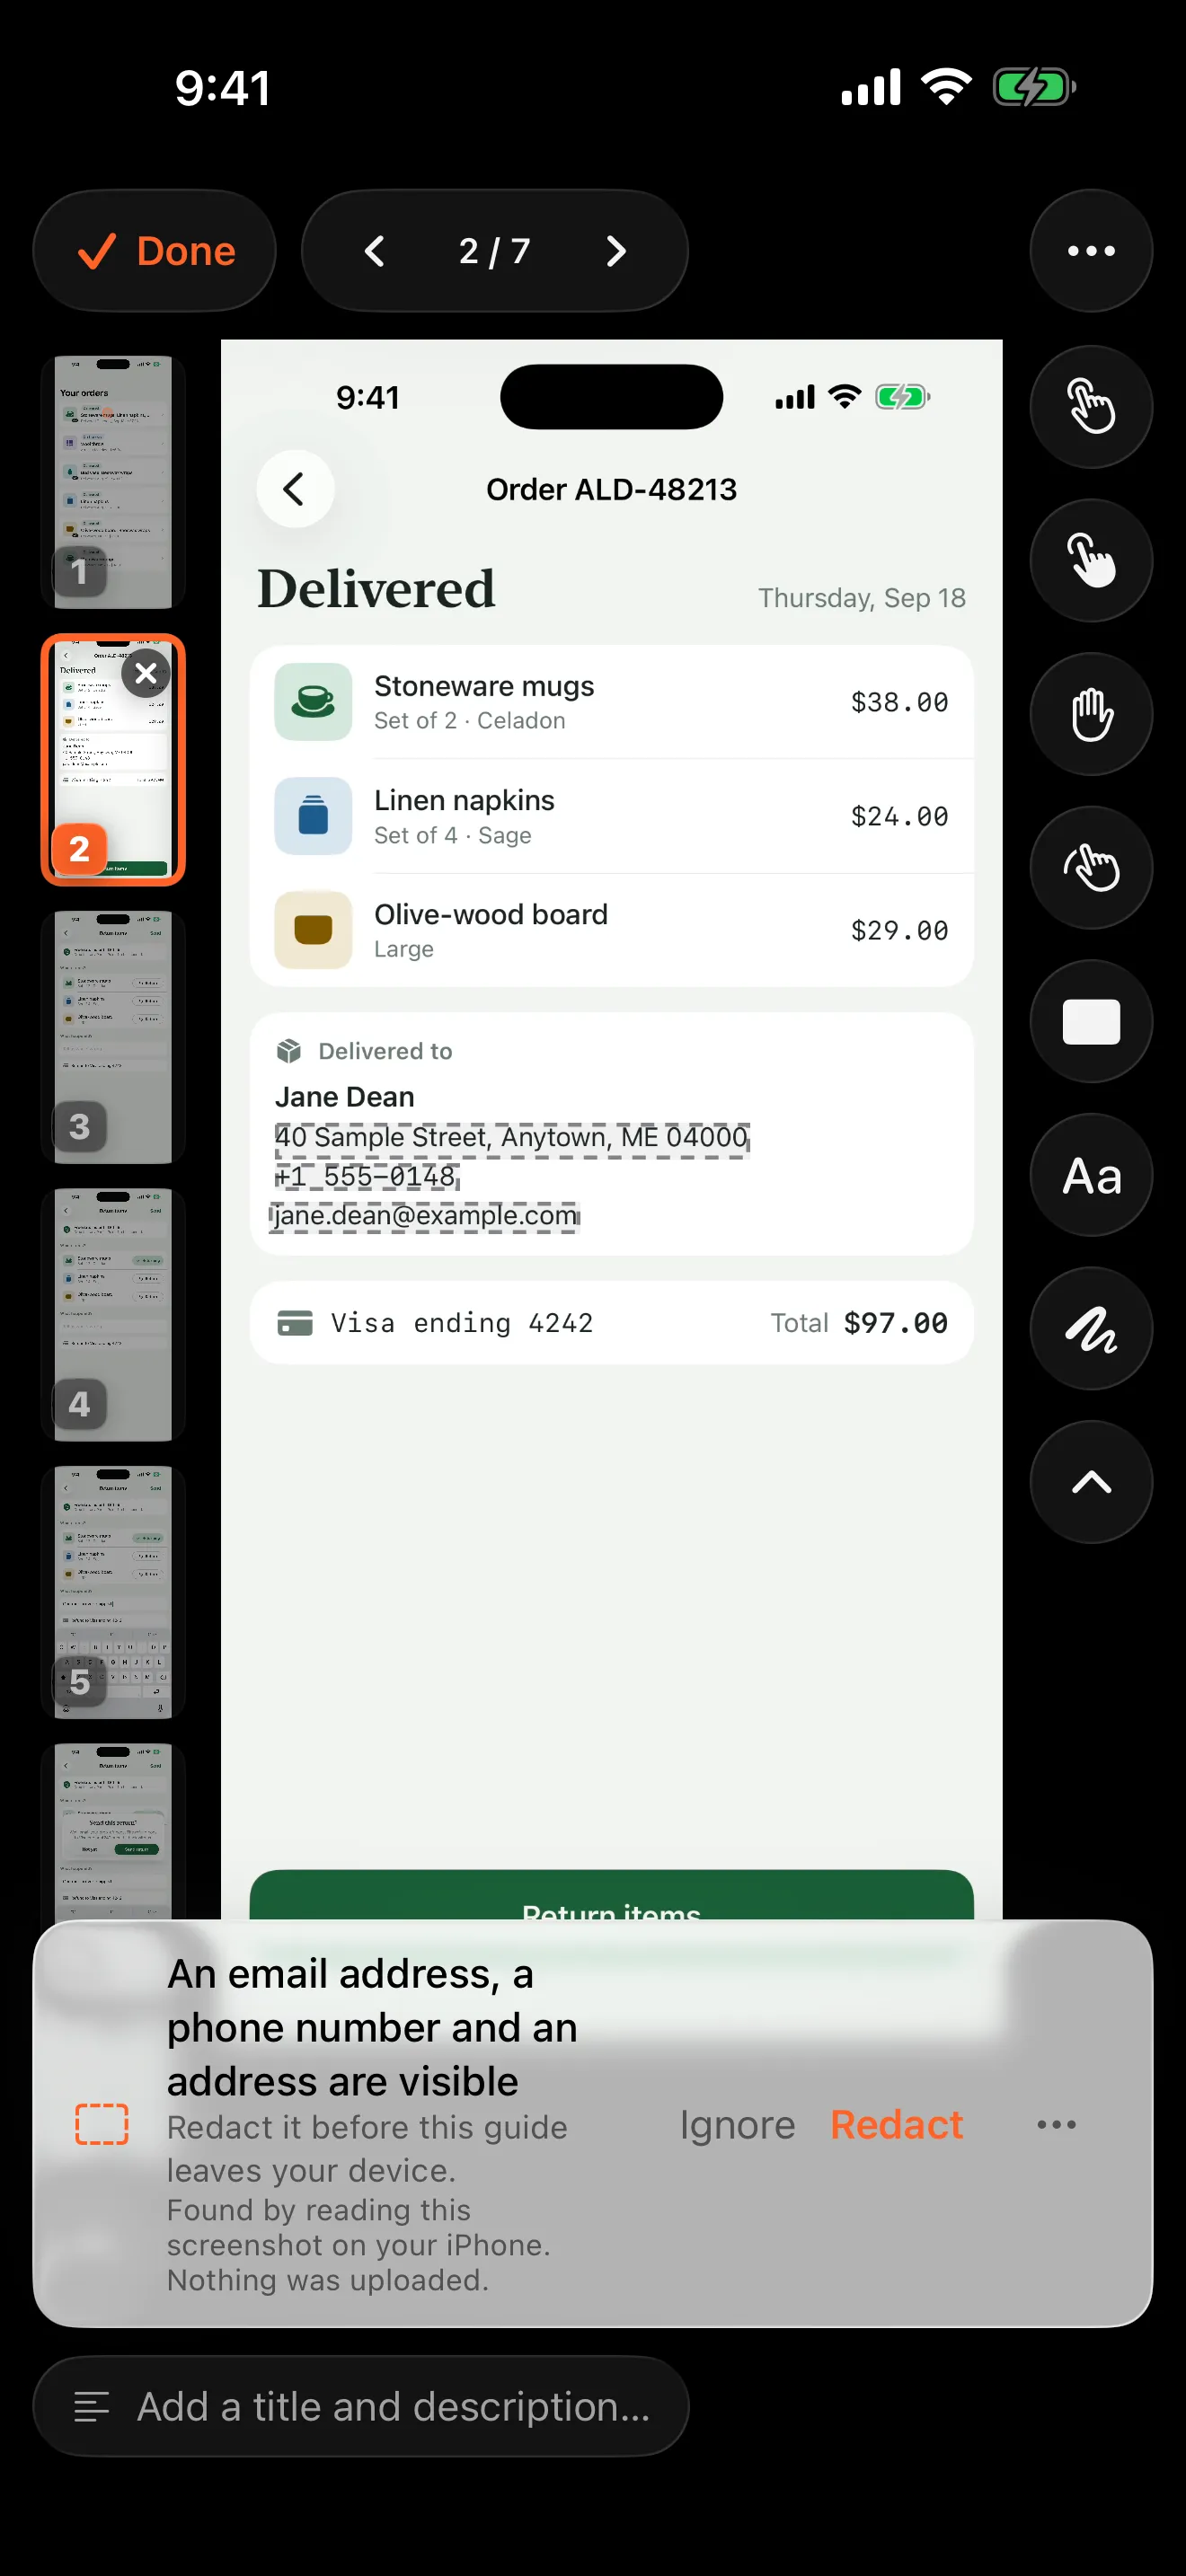
- Cover customer details. Walkthru reads each screenshot on the iPad and offers to cover email addresses, phone numbers, postal addresses and card numbers it finds. It does not look for names, so check every step yourself; order notes and receipts often carry them.
Nothing is uploaded. Walkthru has no account and no server, so your till’s screens stay on the iPad.
Put the guide where staff will use it
| Where | Export | Why |
|---|---|---|
| A binder or a laminated card at the counter | PDF guide, one step per page | It is there when a customer is waiting |
| The staff group chat | Step images | Staff can look ahead on their own phones |
| New-hire onboarding | Video reel with a voiceover | It shows the whole task before they try it |
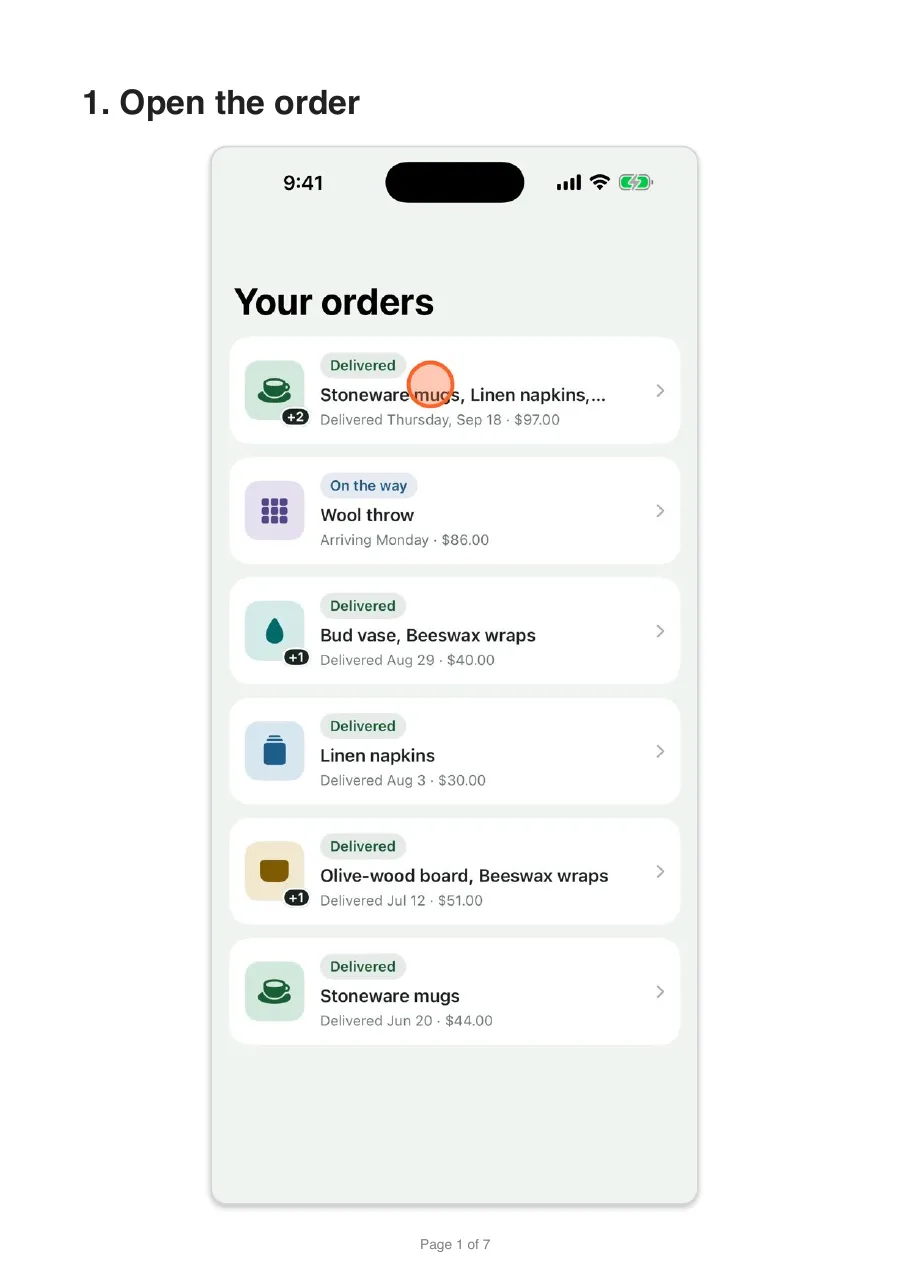
In the one-step-per-page layout, each step’s title prints in large bold type above the screenshot, so put the instruction there. For a voiceover, see adding a voiceover to a screen recording.
Then test it. Give the printed guide to someone who has not done the task, say nothing, and watch. Where they hesitate is the page to fix.
Keep it current
POS apps update often, and an update can move a button. When a page stops matching the till, record that task again or replace the one screenshot that changed, and reprint that page. Write the date on each guide’s cover. See updating a guide after the screens change.
For a written procedure with an owner and review dates, use the mobile SOP template.
The free way
For one or two tasks, you can do it by hand: take a screenshot of each screen, open it in Markup and circle the button with Apple Pencil, then paste the pictures into Pages and write an instruction under each. It works; it just takes longer, and it takes that long again after the next POS update.
Related questions
Can I screen record my POS app?
Usually, but test it first. Apple notes that some apps do not allow their content to be recorded. Record ten seconds and play it back. If the recording is black, take screenshots of each screen instead and build the guide from those.
How do I practise without ringing up real sales?
Use your POS provider's training or test mode if it has one. If not, ask your provider about a safe way to practise, such as a test item a manager can void, or a separate training location. Record the guide in the same setup.
Will customer card details show in the guide?
Card numbers on a POS screen are usually masked, but names, email addresses, phone numbers and order notes often are not. Walkthru offers to cover email addresses, phone numbers and card numbers it finds on each screenshot. It does not detect names, so check every step yourself, and never record a staff passcode being typed.
Should the guide be printed or on a phone?
Both work. A printed guide at the counter helps in the moment, when a customer is waiting. Step images in the staff group chat help someone who is off shift and wants to look ahead.
Does the free version work for this?
Yes. Every export on the free tier carries a Walkthru watermark, and you can export three times a day. A Pro purchase removes both.
A little more to explore
Keep reading
Getting started
Mobile app SOP template and worked example
A reusable SOP template for a task done in an iPhone or iPad app, with a worked example, a checklist for new staff and a simple way to test it.
Getting started
Update screenshots in an iPhone app guide
Keep an iPhone app guide accurate after an app update. Decide what to replace, recheck markers and redactions, and swap out the copies people use.
Privacy
How to properly redact a screenshot on iPhone
Cover private details with a solid shape and share a flattened copy. The free Markup method on iPhone and iPad, why blur fails, and what to check.