How do I add a voiceover to an iPhone or iPad screen recording?
Talk while you record on iPhone or iPad, or add a voiceover afterwards, one step at a time, over a recording or screenshots. Includes a script pattern.

Walkthru team
To talk while you record on iPhone or iPad, open Control Center, touch and hold the Screen Recording button, turn on Microphone and tap Start Recording. To add the voiceover afterwards, one step at a time, use Walkthru: choose Video reel, tap Add narration and speak over each step, with Redo step for any retake. It works for screenshots as well as recordings.
In this article
Record a voiceover for a Walkthru tutorial
Finish the pictures first
Import a recording or screenshots, review the steps, and add the markers, text labels and redactions you need. Make sure the last step shows the finished result.
Plan what to say
For each step, note the action, any choice the viewer has to make, and what they should see next. Leave private details out of the script as well as the pictures.
Open the narration screen
In export, choose Video reel, then Add narration. Tap Prepare walkthrough, allow microphone access when asked, then tap Start recording. A count-in from three gives you a moment before the first step.
Talk through each step
Explain the step on screen, then tap Next. Use Pause if you are interrupted and Redo step to retake the step you are on. At the last step, tap Finish, then Use this narration.
Export and watch it
Export the video and play the actual file from start to finish. Keep the steps available in writing as well.
The built-in way: talk while you record
iPhone and iPad can record your microphone along with the screen. The steps are the same on both (iPhone, iPad):
- Swipe down from the top-right corner to open Control Center.
- Touch and hold the Screen Recording button, then tap Microphone to turn it on.
- Tap Start Recording, wait for the three-second countdown, and talk as you work.
This is the quickest route, and it suits an informal demo. It has two costs. You have to do the task and explain it at the same time, so one stumble means starting over. And the voice is stuck to the recording. To change one sentence, you record it all again or edit the audio in a video editor.
Add the voiceover afterwards, one step at a time
Narrating afterwards splits those two jobs. Record the task silently, turn it into steps, then talk over one step at a time. In Walkthru, Redo step retakes only the step you are on. A guide made from screenshots works the same way, even though nothing was ever recorded.
Say what the picture cannot
A good voiceover tells the viewer what to do, why a choice matters, and how to tell it worked. Reading out every label on the screen buries the instruction.
Compare these two lines:
- “Here is the order screen, and there are three items.” This describes the picture.
- “Choose the item you are returning, and check its name before you go on.” This explains the task.
Name a control when the viewer needs to find it. Finish the steps before you record your voice. If you remove or reorder steps later, record the narration again.
A script pattern for each step
Ask three questions as you prepare:
- Action: what should the viewer do now?
- Decision: what do they need to check or choose?
- Result: what shows the action worked?
Not every step needs all three. “Tap Return items” is enough when the next screen is obvious. A final “send” or “pay” step deserves a check first and a clear confirmation after.
Example script for the site’s Alder return demo (use your own app’s labels):
| Picture | What you say |
|---|---|
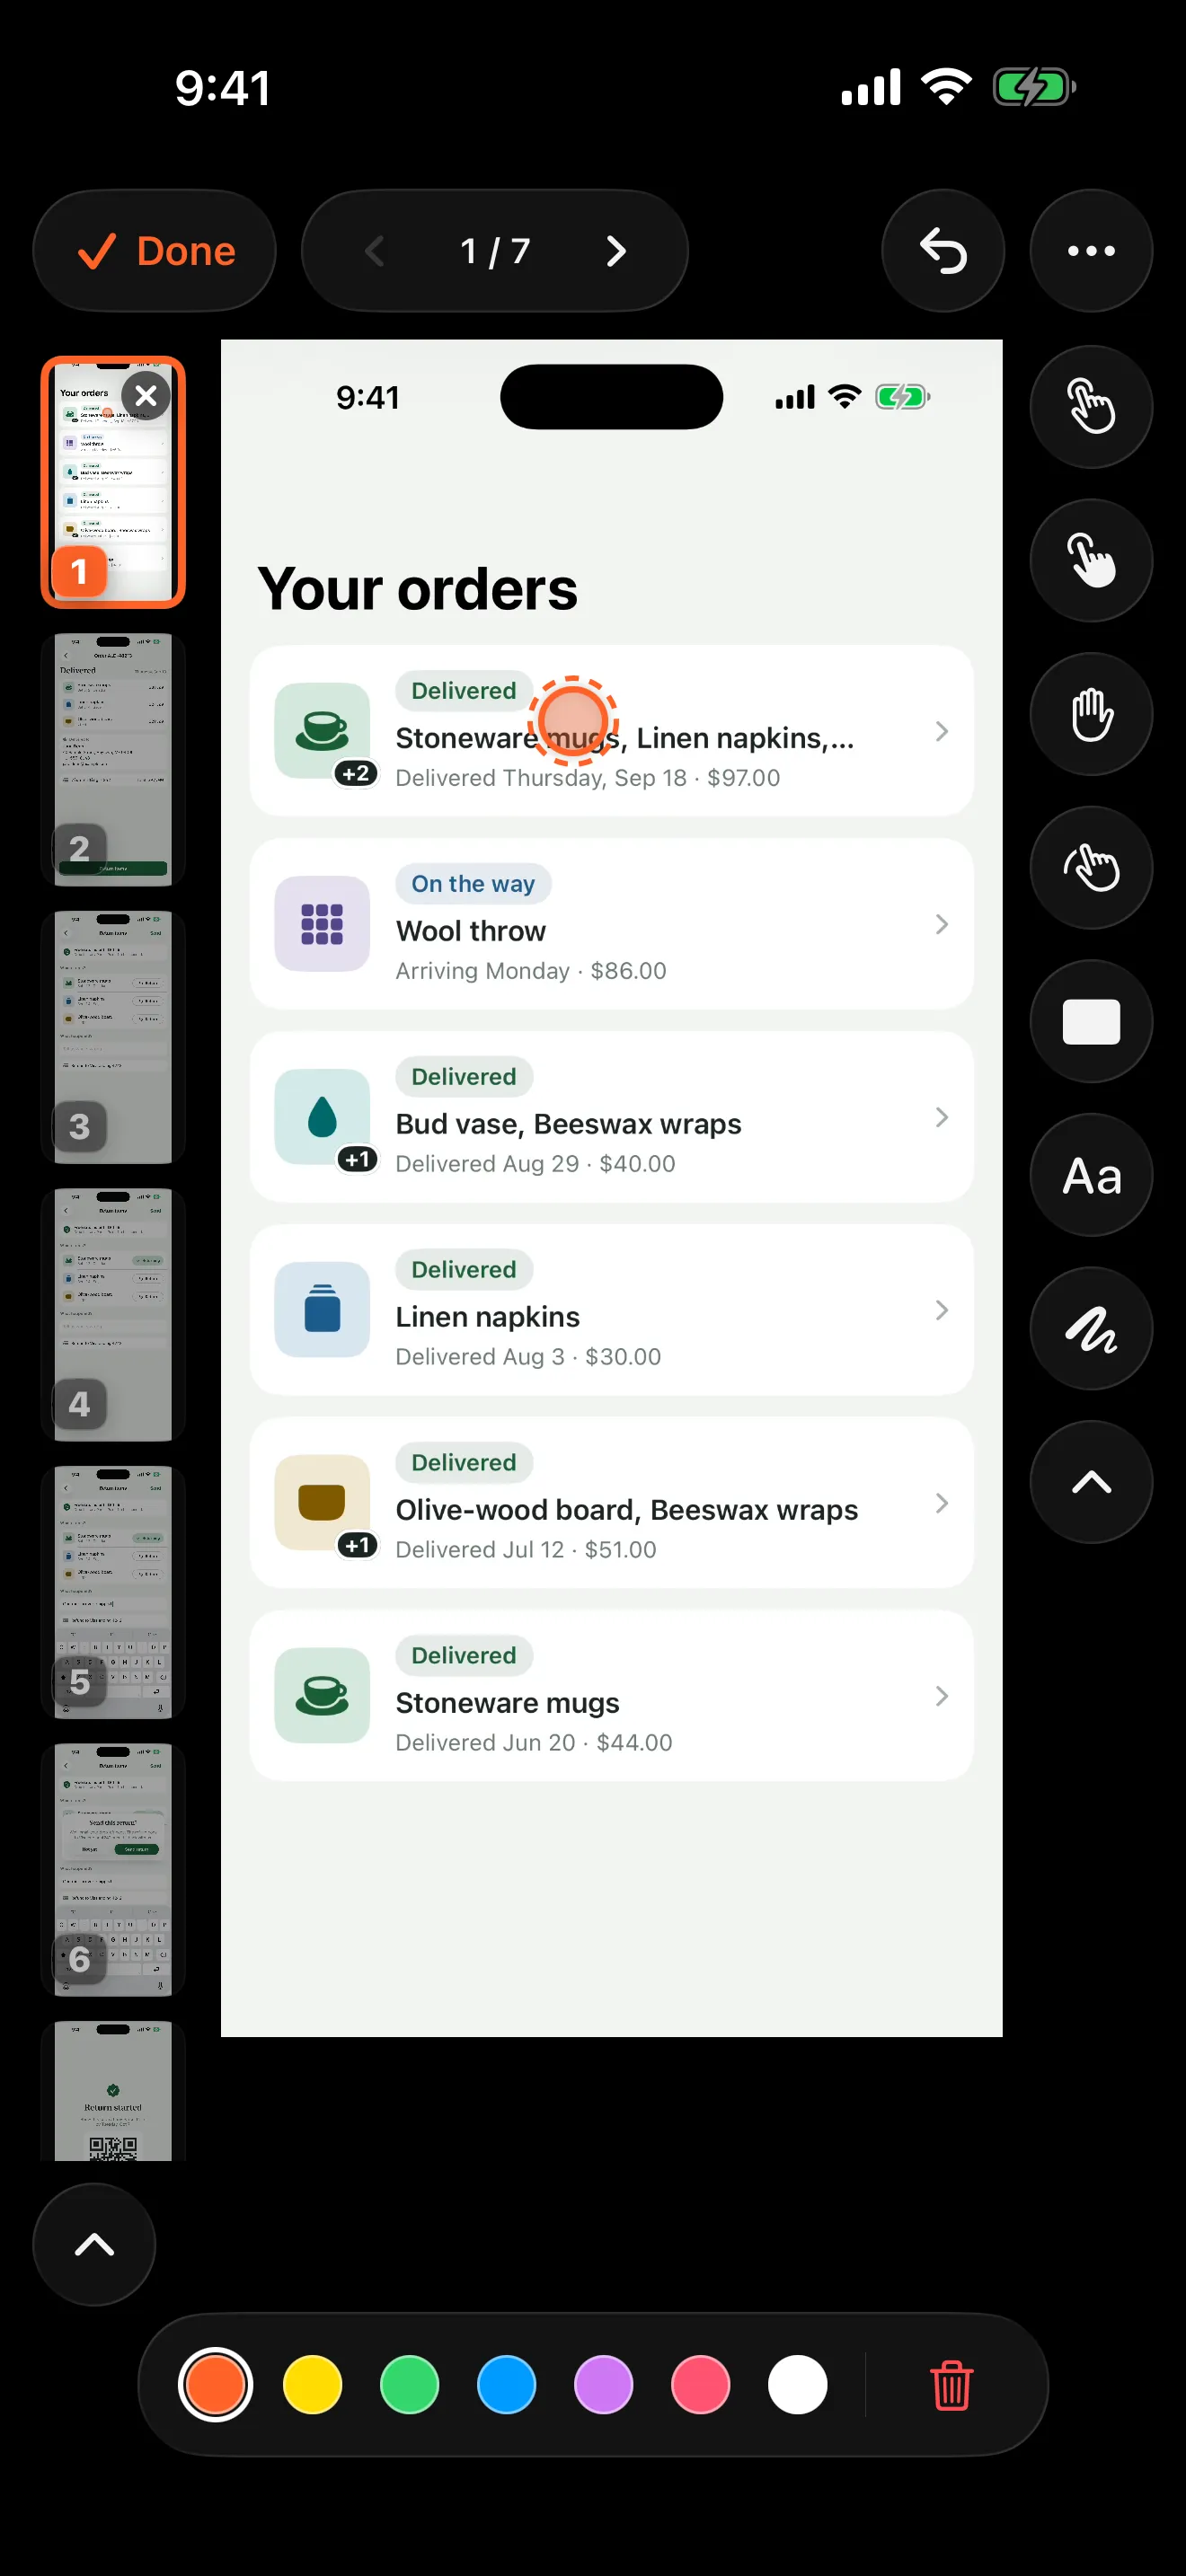
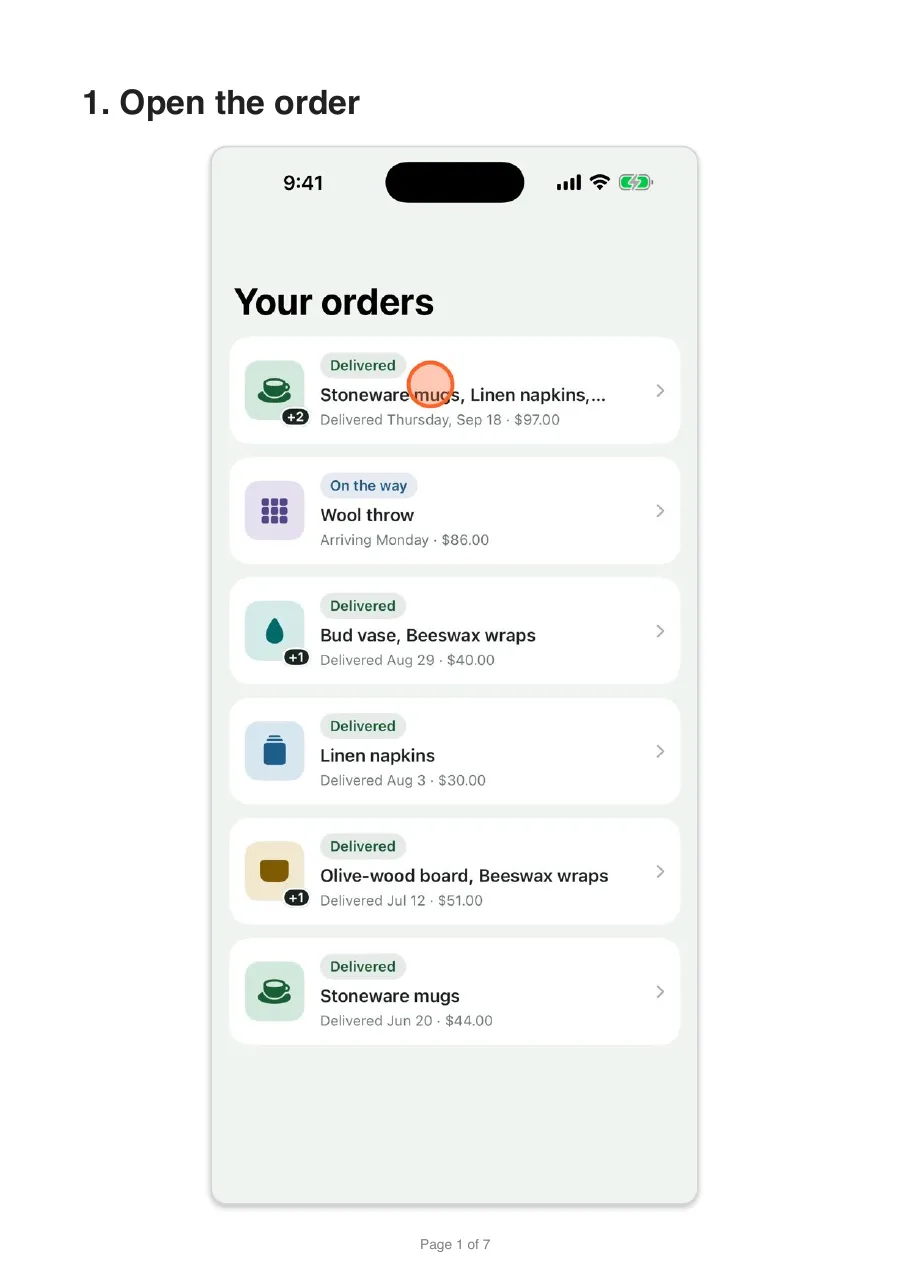
| Order details | “Open Return items to choose what you are sending back.” |
| Item selection | “Choose Return beside the mugs. Check the item before you continue.” |
| Reason field | “Describe the problem. This example uses: One mug arrived chipped.” |
| Note written | “When the note says what went wrong, tap Send.” |
| Confirmation card | “Check the refund details, then choose Send return.” |
| Completed request | “Return started confirms that the request was submitted.” |
Record in Walkthru
- In export, choose Video reel, then Add narration.
- Tap Prepare walkthrough. Walkthru renders the steps you will talk over.
- Tap Start recording. A count-in from three gives you a moment to get ready.
- Explain the step on screen, then tap Next. Use Pause to stop for a moment and Redo step to retake the current step.
- At the last step, tap Finish, then Use this narration.
Say each instruction after its picture appears, not before. If a viewer hears “Tap Send” while the previous screen is still up, they have to remember it instead of following it. Leave a short pause at each decision so the viewer can find the control.
Record somewhere quiet, and listen to a short test before a long tutorial.
What moves and what stays still
When a guide comes from a recording, the video can play the real footage of each step. Some steps are always still pictures instead:
- Steps from screenshots stay on the picture while the markers animate.
- Steps with a redaction stay still, so private content cannot move out from under the cover.
- Steps whose picture you replaced use the new picture, not the old footage.
On a narrated step, your voice sets how long the step lasts. Check the pacing in the finished file.
Check the finished video
Watch the whole MP4 and check that:
- the control you name matches the screen;
- each marker points at the right place;
- no explanation is cut short or lands on the wrong step;
- your voice is clear throughout, including after a pause or a retake;
- nothing private appears in the picture or in what you say;
- the last step tells the viewer how they know they are done.
A redaction covers the picture, not your voice. If you said a name or an account number aloud, record that step again.
Give viewers the steps in writing too
Some viewers cannot play sound, and some just want to look up one step. Export a PDF or Markdown version of the same guide, or write the key steps next to the video. Walkthru does not add subtitles to the video; its text labels are for short cues on the picture. If you need synchronized captions, add them with a captioning tool.
To choose between a document, a video or both, see screenshot guide or video tutorial.
Related questions
Can I narrate screenshots without recording the screen first?
Yes. A guide made from screenshots can be narrated the same way. Each picture stays on screen while you talk and its markers animate. It cannot show movement that was never recorded.
Does Walkthru generate the voice or write the script?
No. You record your own voice and write your own instructions. There is no AI voice, automatic script or speech-to-text captioning.
Do the written step captions appear as subtitles?
No. A step's title and description go into the PDF and Markdown exports, not the video. For words on screen, add short text labels to the picture. For synchronized subtitles, use a separate captioning tool.
Why does a narrated step stay on a still image?
Steps made from screenshots, steps with a redaction and steps whose picture was replaced all use a still picture. A redaction stays still so private content cannot move out from under it. Your voice sets how long each narrated step lasts.
A little more to explore
Keep reading
Getting started
How to show taps in an iPhone screen recording
iPhone screen recordings hide your taps. Add tap markers afterwards in Walkthru, or try an AssistiveTouch custom gesture while you record.
Comparisons
Screenshot guide or video tutorial: which to use?
Screenshots or video for a how-to? Choose by what the reader does next, whether that's following along, learning a gesture or looking one detail up.
PDF & exports
Turn a screen recording into a PDF guide on iPhone
Turn an iPhone or iPad screen recording into a numbered PDF guide with one screenshot per step. The free manual route, the faster way, and what to check.